Extensions Overview
Overview
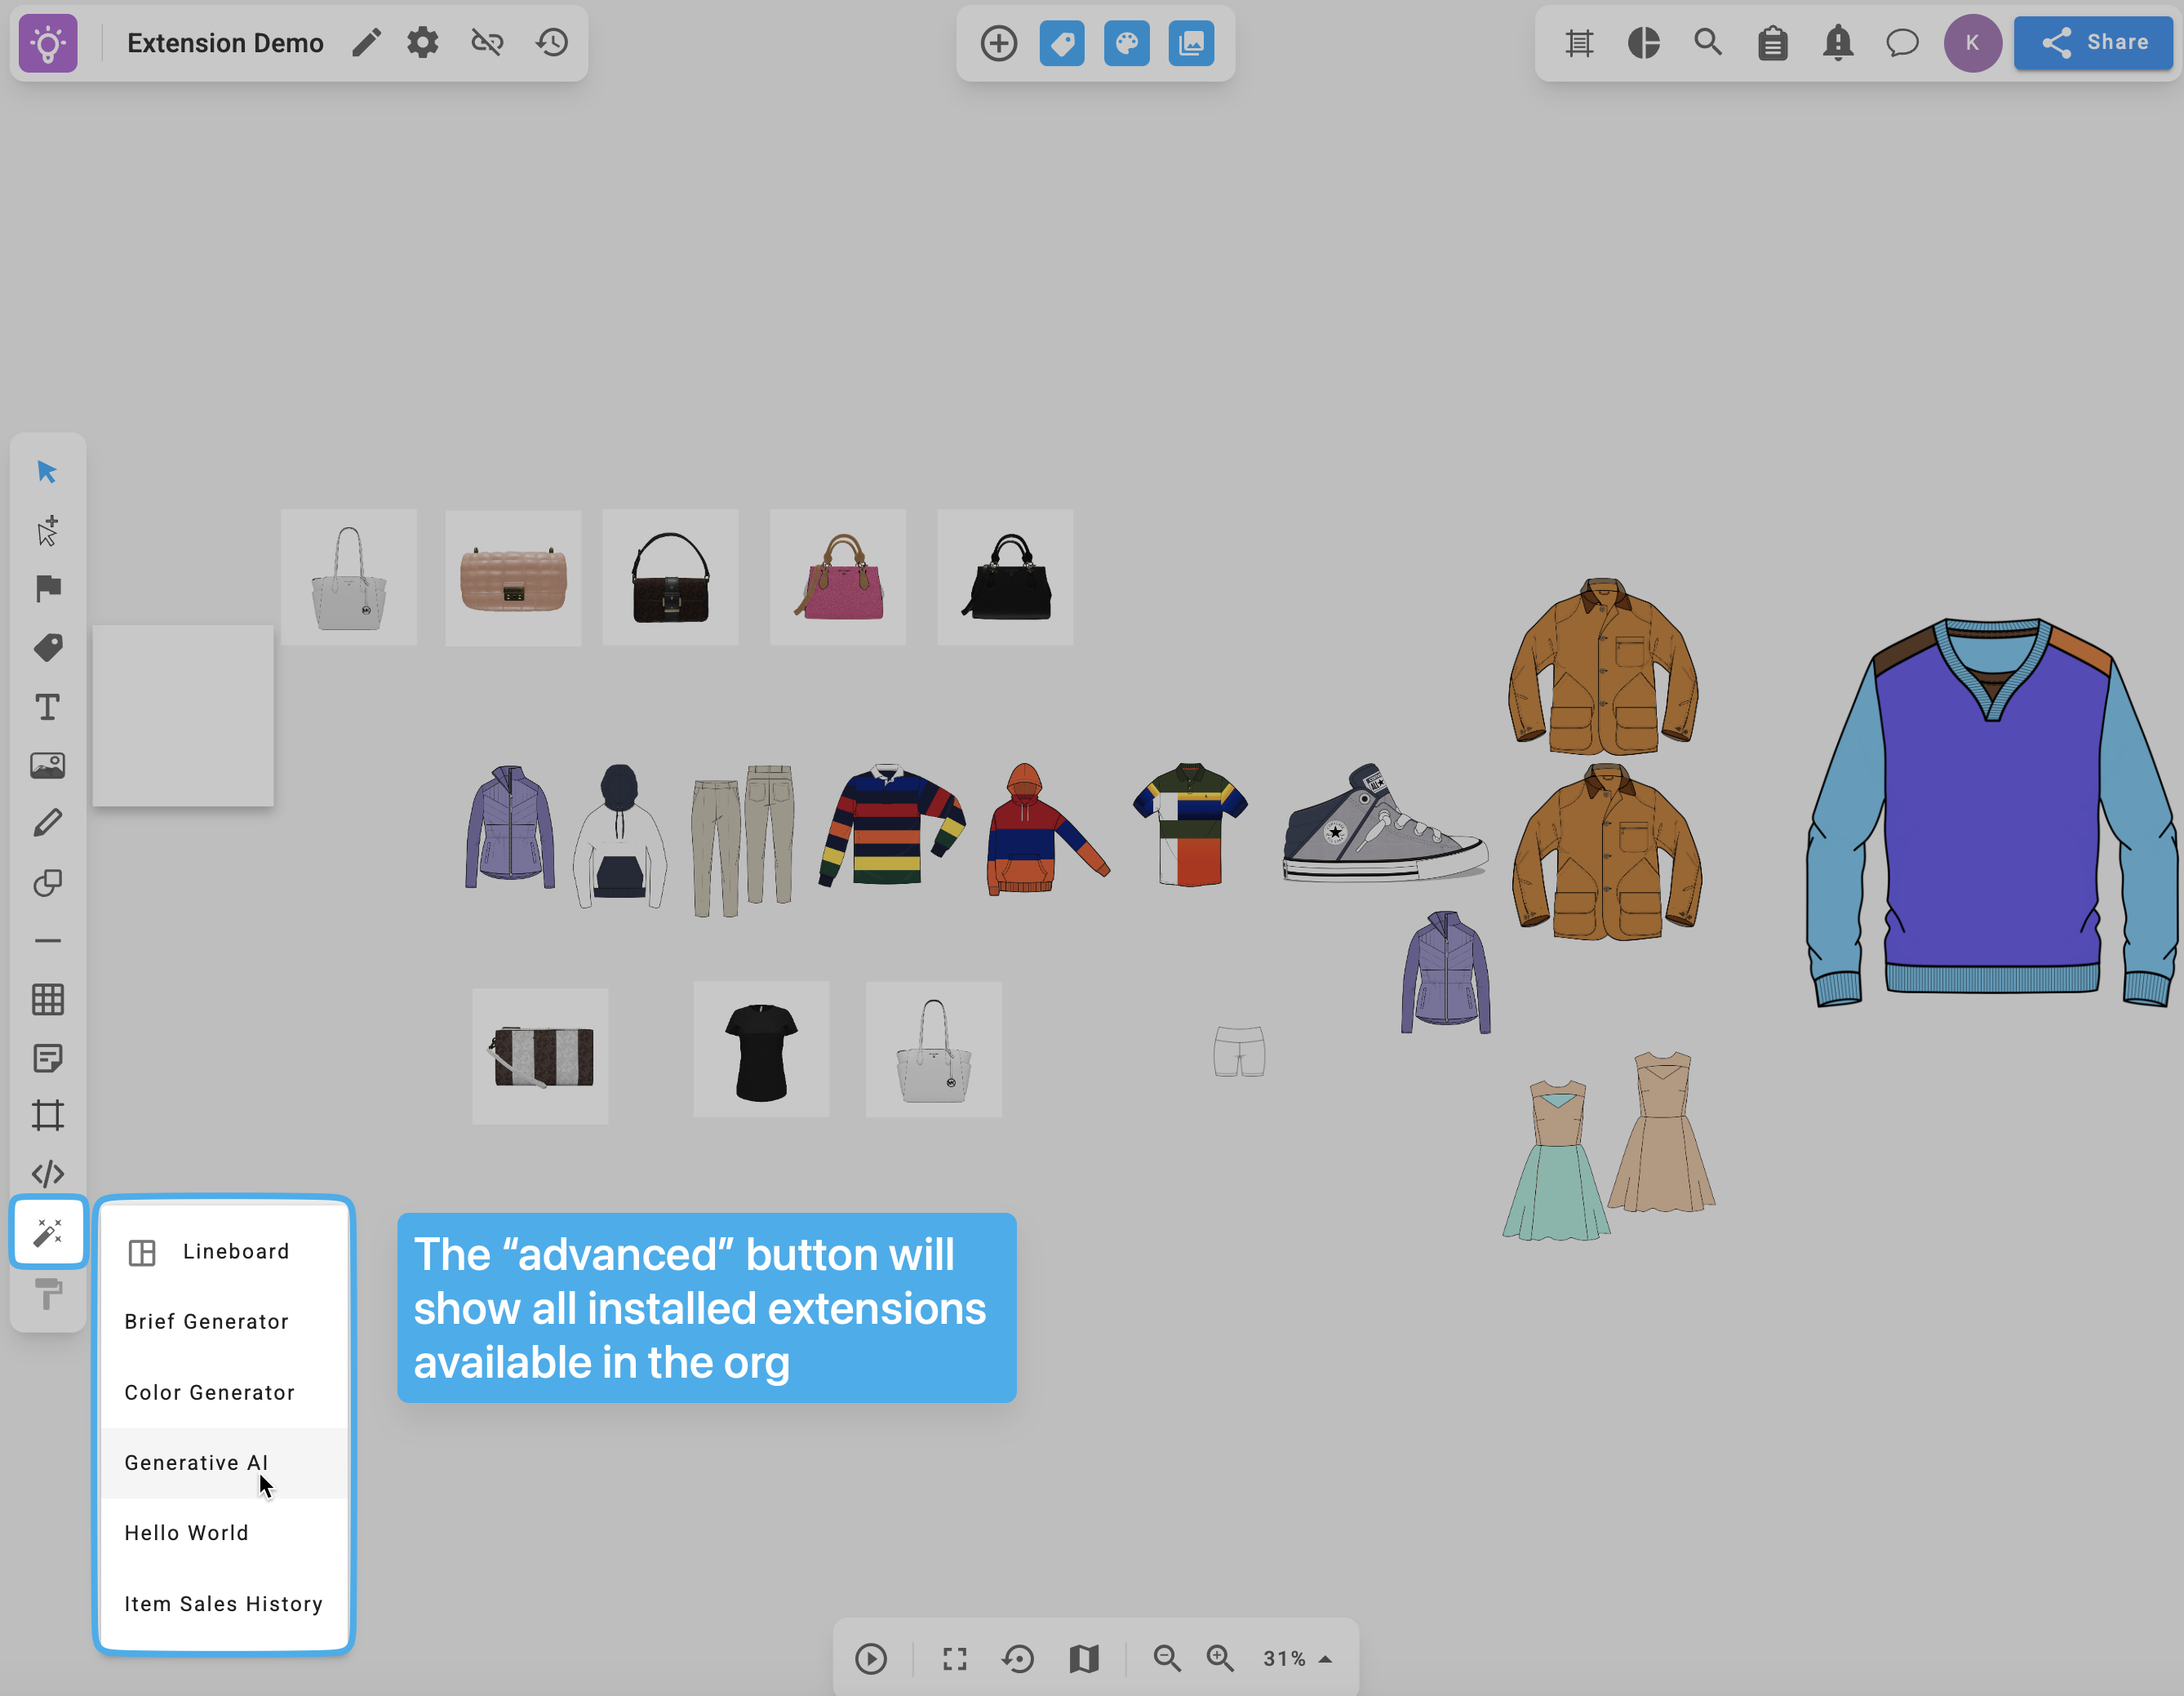
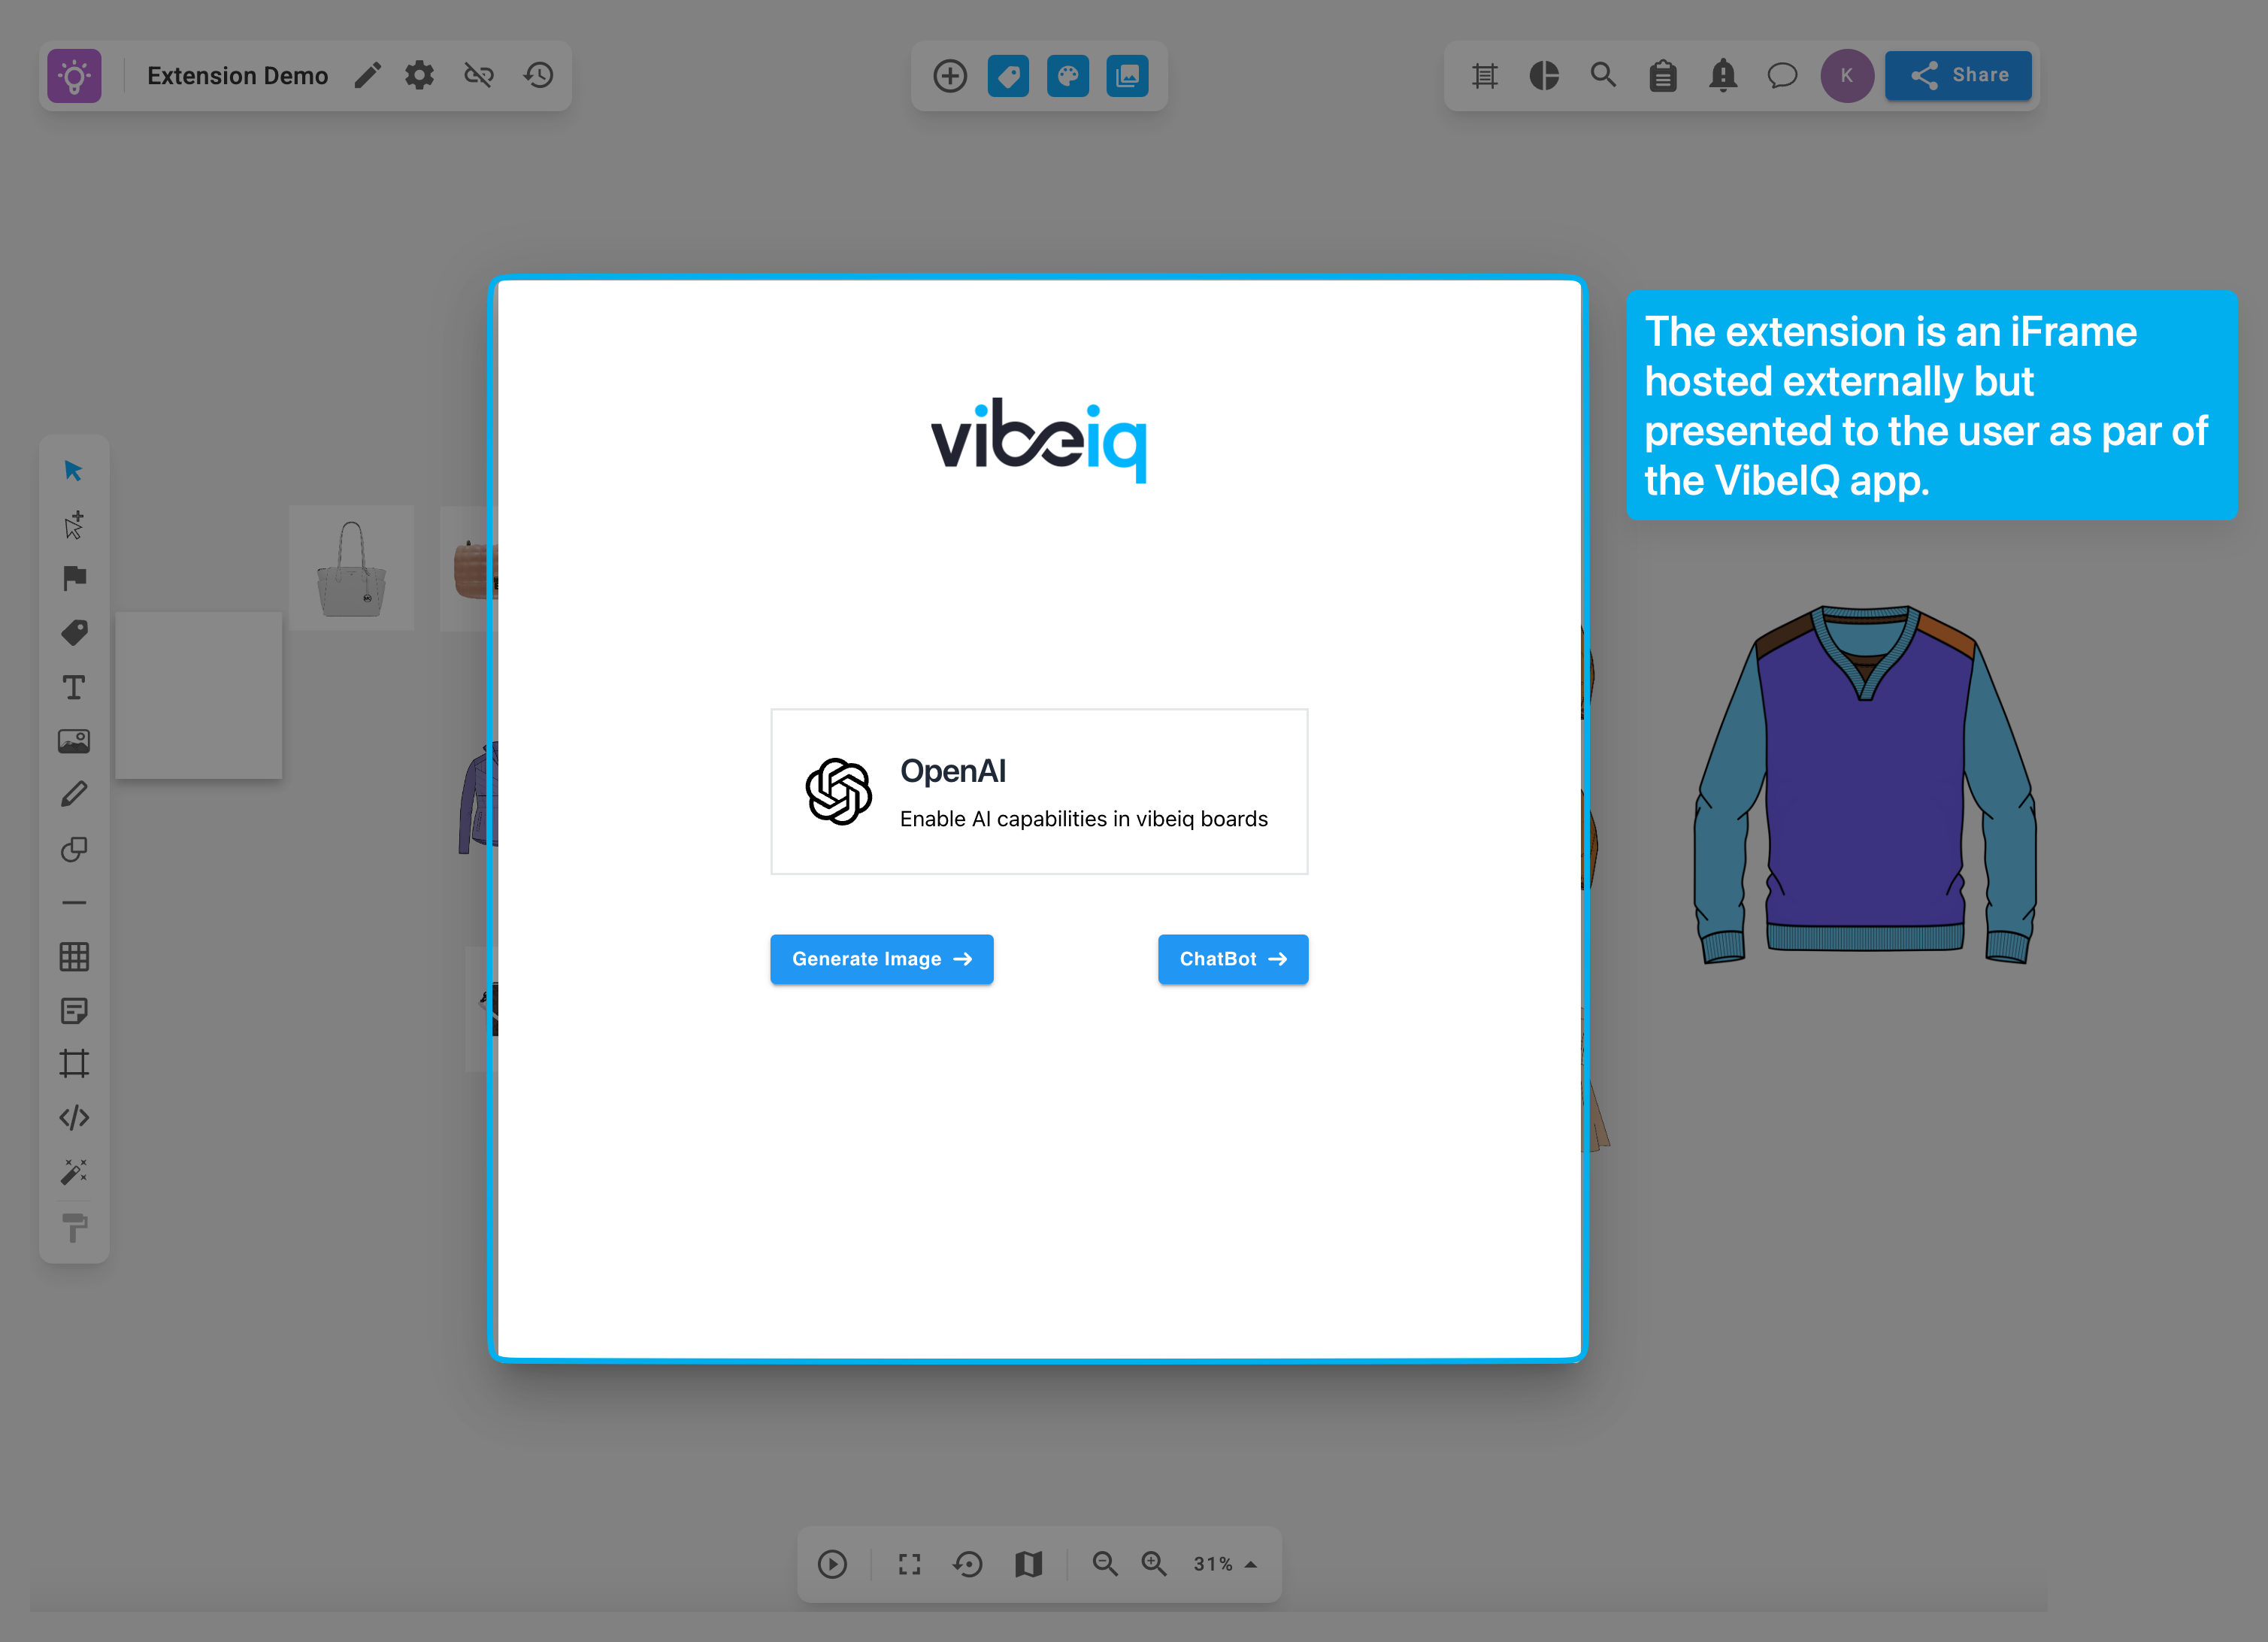
Extensions let you add your own UI directly inside the platform. You can build extensions for the boards, plan, showcase, and admin console apps, and they run with the current user's session — so they can read the data in the document and project where they're launched. To the user, an extension looks and feels like a native part of the platform.
Creating an extension
An extension ships as part of an app. To create one, first create an app, then add an extension definition to the app's manifest.
A minimal app that hosts a single extension looks like this:
appIdentifier: "@your-app-identifier"
appName: "Your app name"
appDescription: "your app description"
visibility: private
publisher: "your email, or company name"
thumbnail: "https://static.thenounproject.com/png/3080128-200.png"
version: "1.0.0"

extensions:
  - identifier: hello-world
    name: Hello World
    userApps:
      - BOARDS
      - PLAN
    display:
      type: modal
      dimensions:
        width: 660px
        height: 300px
        maxWidth: 95vw
    iframeUrl: https://d2d3iqsj83032s.cloudfront.net
    extensionType: DOCUMENT_AUTOMATION
Choosing a display mode
The display.type field controls how the extension is presented:
modal(default) — a centered dialog with a backdrop. Best for focused tasks the user completes and then closes.side-menu— a panel docked to the right edge with no backdrop, so the user can keep working in the document while the extension is open. Best for inspectors and tools that complement an ongoing workflow.
extensions:
  - identifier: hello-world
    name: Hello World
    userApps:
      - BOARDS
    display:
      type: side-menu
      dimensions:
        width: 340px
        height: calc(100vh - 82px)
        maxWidth: 650px
      position:
        right: 0.625rem
        bottom: 0.625rem
    iframeUrl: https://d2d3iqsj83032s.cloudfront.net
    extensionType: DOCUMENT_AUTOMATION
See the display reference for every field and its default value.
Hosting your extension
The extension is shown to the user in an iframe, so it must be served from a public URL over https. You can host it yourself (Netlify, Vercel, GitHub Pages, etc.) or use VibeIQ's managed hosting. Both options are covered in Testing and Deploying an Extension.
Connecting your extension to VibeIQ
When the extension launches, VibeIQ opens an iframe connection to it. Your extension accepts that connection by calling AppExtension.registerAppExtension() from the public @contrail/extensions-sdk package.
import { AppExtension } from '@contrail/extensions-sdk';

@Component({
  selector: 'app-root',
  templateUrl: './app.component.html',
  styleUrls: ['./app.component.scss']
})
export class AppComponent implements OnInit {
  public isExtensionInitialized = false;

  public extensionType;
  constructor(private route: ActivatedRoute){}

  async ngOnInit() {
    await AppExtension.registerAppExtension();
    //your code
  }
}
Once connected, use getAppContext() to read the current board, plan, or showcase and the user's selected elements, and use BoardsApp / PlanApp / ShowcaseApp to perform document actions. See Reading Context and Performing Document Actions for per-app examples, and Testing and Deploying an Extension for the full walkthrough from local testing to a published app.